Scripts to Setup Virtual Machines for Malware Analysis
Dec 23, 2019 “I made some throwaway Powershell scripts to set up virtual machines for malware analysis.”#malware #security #analysis #virtual machine #windows #powershell
I’ve been investigating malware analysis to determine if I want to do graduate school or not after my undergraduate degree. Naturally, I decided to set up a “dirty machine” from scratch. I’m not great with Windows, so I ended up having to reinstall it a few times. Since PowerShell is the lingua franca on Windows, I made some scripts to speed up the installation process that I repeatedly had to do.
The Goods
So how are these scripts going to save us time? Well, the first one saves us about 1000 clicks in GUI menus to disable pesky things like Windows Update and Windows Defender. And the second script installs chocolatey and some other useful tools for malware analysis.
Requirements:
- Some way to legally install Windows. Either through Microsoft Imagine, buying a legitimate Windows license, or otherwise. I tested this on a 32-bit Windows 10 Education image I got through Imagine.
- Allow unsigned PowerShell scripts to run. To do this open an Admin PowerShell session and run
Set-ExecutionPolicy Unrestricted.
After Windows is cleanly installed go ahead and shutdown and make a snapshot of the clean install (Snapshot 0). After that, we can run run boxsetup1.ps1 to set the initial environment up. Reboot and make a another snapshot (Snapshot 1). Now we can install useful programs for our analysis by running boxsetup2.ps1. After that’s all said and done, finish manually installing OpenJDK and the Windows SDK. For the Windows SDK be sure to uncheck all of the boxes except for “Windows Development Kit”, since that’s the only one we want. After that, shutdown and make a third snapshot (Snapshot 2). This will be the base snapshot we will revert to for malware analysis (after we purposefully infect the machine).
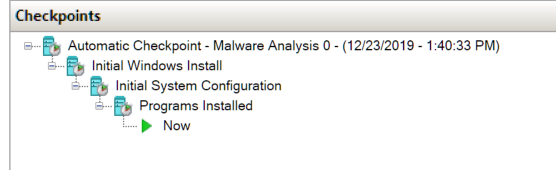
This is what the checkpoints should look like in Hyper-V (or whichever hypervisor you use) after the process is finished:
It isn’t anything outstanding, but I thought this was cool enough to share. Here’s what the end-result looks like (after some minor cosmetic tweaking):
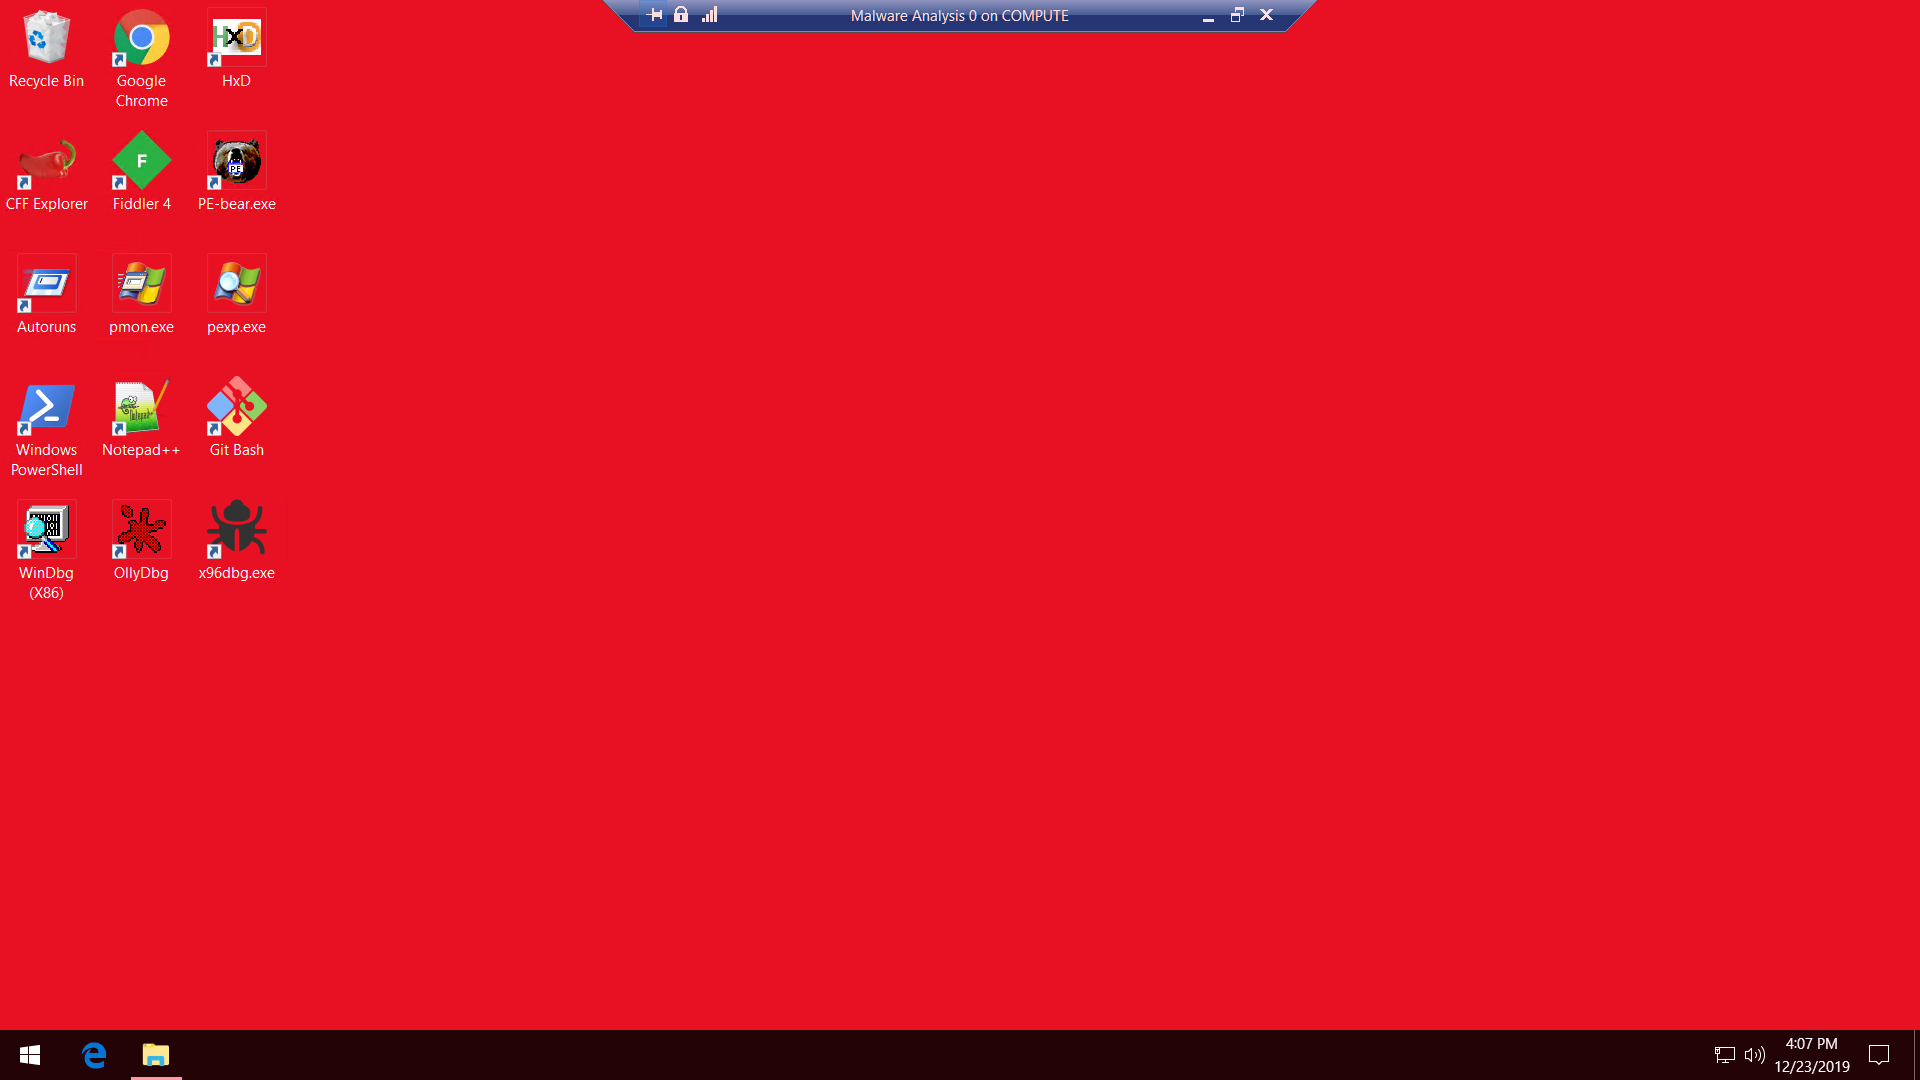
Screenshot of the finished Malware Analysis VM Desktop.
But wait, don’t stop reading right now: There’s more!
Bonus Hyper-V Magic
Are you a broke-@** college kid that can only afford software that’s given to you like Hyper-V? Do you want to copy malware samples to your Hyper-V virtual hard disk? Well then I have a tip for you!
In Windows 10, you can mount virtual hard disks natively (.vmdx files) in Windows Explorer. But you should NOT DO THIS! I did that and corrupted my virtual hard disks twice and had to reinstall the guest OS. Apparently, Windows Explorer’s Disk Mount doesn’t support Microsoft’s own (!) disk format. So how to do you safely send malware samples to the guest OS? Well, you can do that with this neat little PowerShell script!
But first make sure that you have:
- Make sure you have “Guest Services” turned on in the Hyper-V Integration Services settings area for the guest machine.
- A copy of Hyper-V. Students in college should be able to get this through an agreement with their university and Microsoft via Microsoft Imagine.
And here’s the script:
# Send files to a Hyper-V Malware Analysis guest.
# Usage: .\sendtoma0.ps1 <filename>
# (c) 2019 Cameron Conn

$file_target = $args[0]

# Change these two values as you see fit.
$guest_path = "C:\Users\Joey\Desktop\$file_target"
$vm_target = "Malware Analysis 0"

#### This is sometimes wonky, but is really fast.
# It requires guest integration extras.
Copy-VMFile $vm_target -SourcePath $file_target -DestinationPath $guest_path -CreateFullPath -FileSource Host

# Alternatively, if you don't have guest integration extras:
#### This works reliably, but is slow. You will need to change "Joey" and "password".
#$pw = convertto-securestring -AsPlainText -Force -String "password"
#$cred = new-object -typename System.Management.Automation.PSCredential -argumentlist "Joey",$pw
#$s = New-PSSession -VMName $vm_target -Credential $cred
#Copy-Item -ToSession $s -Path $file_target -Destination $guest_path
Obviously, the usage is .\sendtoma0.ps1 sketchy_program.exe.